
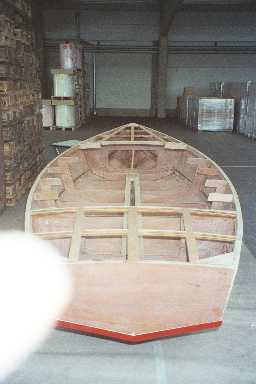
The new year 2003 started without considerable activities. By end of February, 2003 I got the opportunity to rent some space in a heated building very close to my original workshop. As the costs were reasonable I took it and happily moved my whole "shipyard".
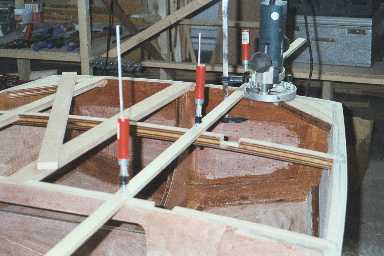
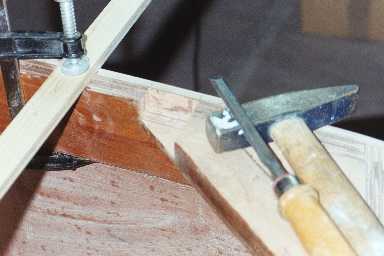
Next step was to fit the deck beams. I had laminated them over formers back in September 2002 and just had to fit them into the deck stringers. The clearing for the deck slings were cut out with the milling machine and finished using the chisel.
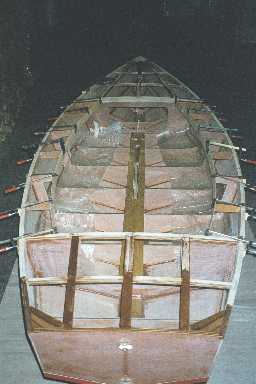
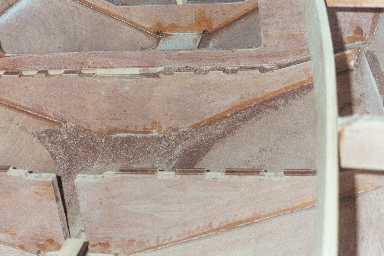
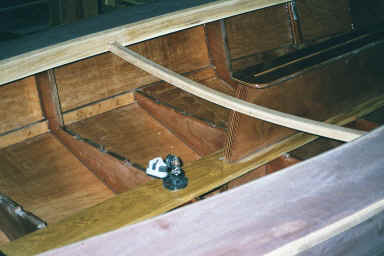
The keelson is made of a single 22mm piece of oak which is lowered 16mm into the floor timbers, leaving 6mm (in theory) to form a flat surface with the false floor to come.
The hole for the centerboard case is widened at approx 10 degrees to the lower side to form a conical reservoir for the glue, when the keelson is lowered over the case.
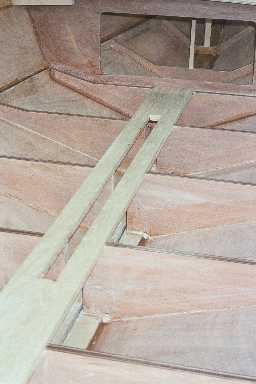
You will also notice the holes in the floor timbers that allow water to flow towards the lowest point in the hull.

As all inside parts have been mounted, I filled all joints with a thick mixture of epoxid and phenol spheres (1:1 by volume).
The first two layers of both cockpit stringers were attached to the frames to give a reasonable glueing surface and to serve as a reference for shaping the side decks later on.
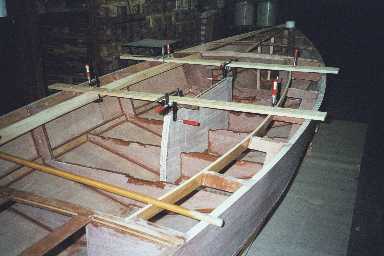

Having hesitated quite some time I mounted centerboard case and keelson in two steps. As with the keelson, the lower edge of the centerboard case was trimmed approx. 10 degrees to the outside to form a reservoir for the resin. Additionally I inserted a sealing made of a thin plank wrapped with plastic foil at the joint of centerboard case to keel. This strip could be easily removed after the resin had hardened and prevented resin from dripping out of the joint.
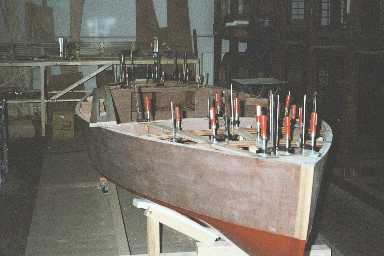
When fixing the joints you find yourself confronted time after time with challenging situations. But with the help of wedges, ropes, vices and a bit of imagination you get along quite well.
Before the centerboard case is finally glued together, make sure the centerboard moves freely - we won't be able to correct afterwards.
The inner surfaces of the case have been protected by a good deal of epoxid - of course!
Starting to work on all these details ...
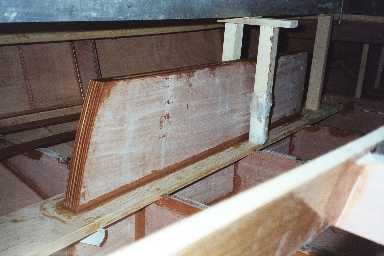
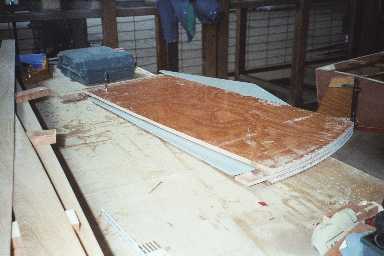
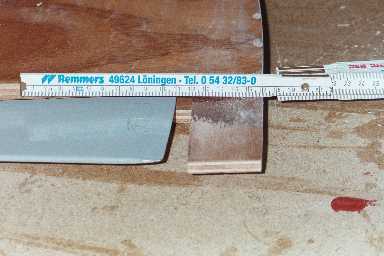
A False floor was made of 6mm plywood, reinforced by strips of oak 5mm. I took a measure at each former, used some garbage wood pieces as rest for the straking lathe, marked the contours - that's it.
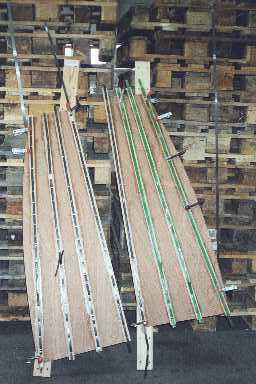
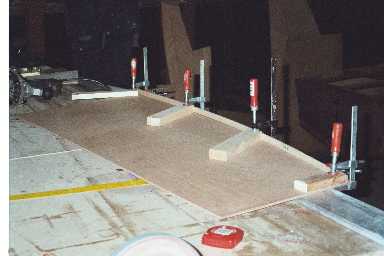
The reinforcements were fixed using the stapler gun, with lengths of plastic packaging ropes underneath, which I found on the garbage. These ropes made removing the clamps an easy task.
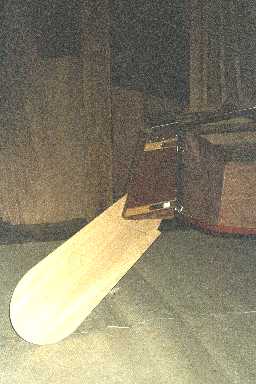
As FLAME is going to operate in shallow waters I opted for a rudder I could lift.
In April, 2003 I bought a trailer (Harbeck 450S) and mast plus boom (Proctor). Now the account is rather flat, but I think (or hope at least) there won't be too many more big amounts to spend.
The weekends in May saw me laminating the traveller (strips of 5mm oak) and varnishing the complete inside with 2-component transparent PU varnish.
